1. fully shape your armor first, then go back and flute...
Video (not mine)
http://www.ageofarmour.com/education/fluting.html
You don't have to be this fancy...but it shows the basics...
go get one of these flat dasco chisels, they are hard as the dickens.
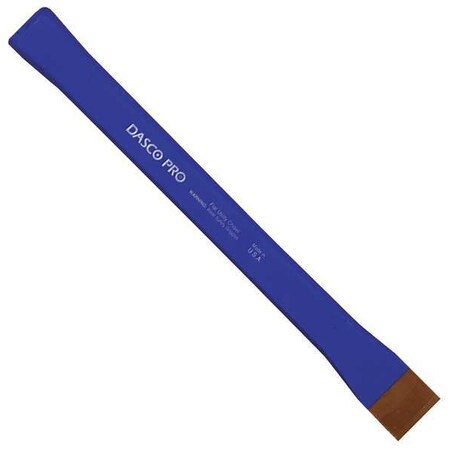
(They carry them at home depot)
take
a grinder and a flap wheel and make it curved instead of flat so the
end looks like this on it's side ) instead of like this ].. and make its
edge rounded so it will not cut the metal.. put it in your vice so the
curved end is up and the hammering end is resting on your vice... put
the metal on, take a small rounded hammer(I like a plastic tear drop
mallet) and tap on the metal barely to one side of the stake, where it's
un supported.. you'll dish down the unsupported side and the part held
by the stake stays up... the closer you get to the edge of the stake the
sharper the line between the two will get ... There are more steps to
make it look perfect but this is enough to get you started...important
addition, the curve of your stake has to be tighter than the curve of
the metal you are fluting, or the corners just make ugly dimples....move
the metal around on the stake with the line of your design resting on
the stake...to get a fully pointed flute, } you work both sides...
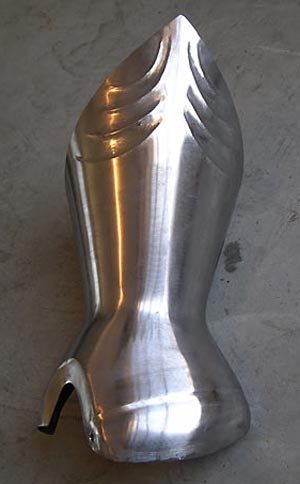
If
you look at this gauntlet (not min) the fluting around where the thumb
meets the fingers is done only on one side of the stake, the rest is
done on both... to get it started quickly, you can rest the line on the
stake and whack it with a rubber mallet.. then go back and refine with a
hammer and back again to planish and crisp up the lines.Here is a simple example of a jig called a "flute o matic" or at least that's what i've always called it
https://www.youtube.com/watch?v=mj6UiIsqVOc
if he rounded the chisel it'd curve better
https://www.youtube.com/watch?v=mj6UiIsqVOc
if he rounded the chisel it'd curve better
No comments:
Post a Comment